
A lot of your normal bike maintenance includes a great deal of cleaning. Anywhere from wiping off the frame to cleaning your brakes. You also should make adjustments to some of your components from time to time, even prior to maintenance. I will mention some of those things in my video, but today we are going to focus on routine maintenance.
What items do you need to perform the routine maintenance on your bike?
PRODUCTS
- Bike cleaner – https://amzn.to/3kFcZb6 (don’t use a hose, your bike has electronics!)
- Degreaser – https://amzn.to/3lZOqF4
- Isopropyl alcohol – https://amzn.to/3ueq4eG
- Bike tool kit – https://amzn.to/3ALpTK8
- Allen Keys – https://amzn.to/3o0XjRw
- Compact tool kit – https://amzn.to/3kER6bV
- Spoke wrench – https://amzn.to/2Wf2GkC
- Cleaning kit – https://amzn.to/3ENprgR
- Bike chain lube – https://amzn.to/2XOVtIt
- Alway carry a tire repair kit – https://amzn.to/39BeO2l
- Battery powered air pump – https://amzn.to/3ucw5bq
- Chain cleaner – https://amzn.to/2XYajN5
I’m going to go over what you should do when performing routine maintenance on your bike. If you own an ebike or not, this is good practice, to keep any bike alive for a long time. Doing this many times a year, ensures that you won’t have to worry about rust, grime, or replacing broken parts as often.
Cleaning your bike
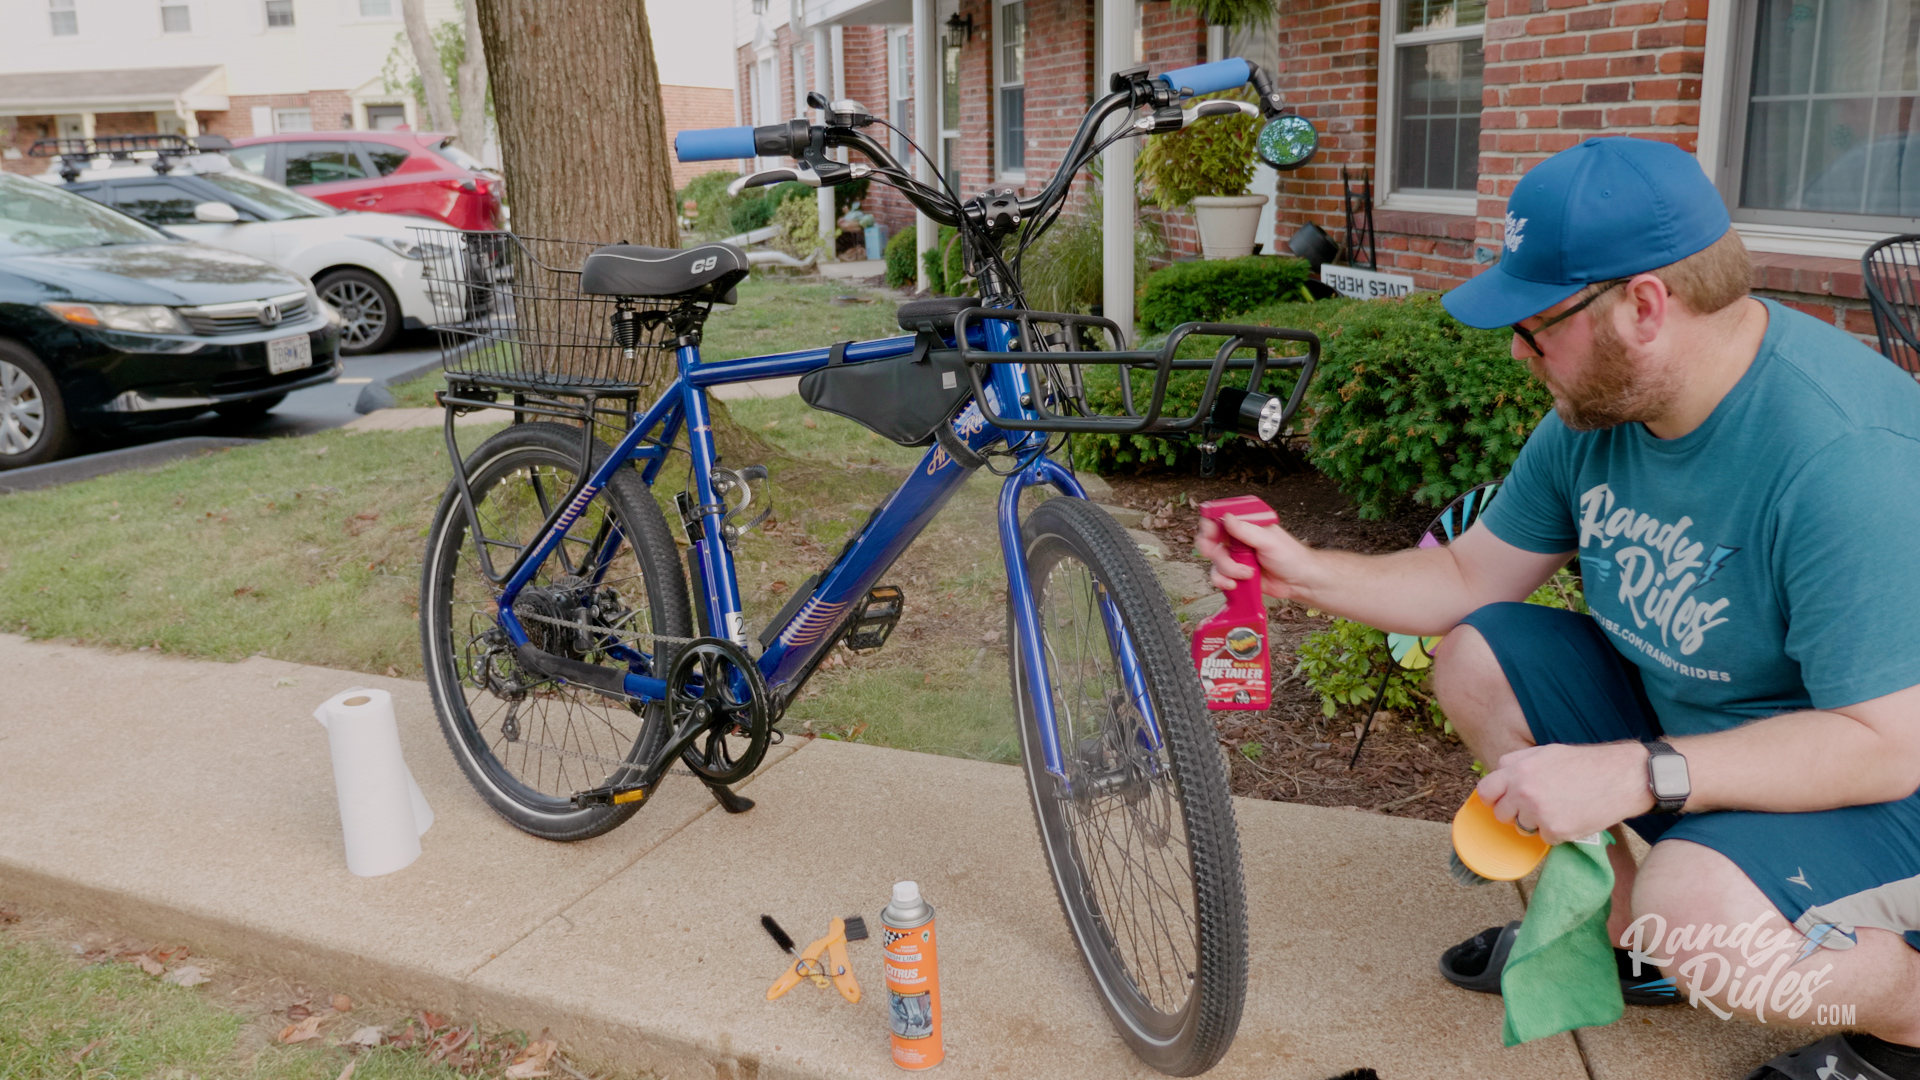
The first step to ebike maintenance is cleaning your bike. When you head out on the town or fly down a dirt road, your bike is going to get dirty, much like our cars. Take your time to go through the bike thoroughly and clean all components, tires, brakes, the drive train, and clean/maintain your bike like it’s your car.
Cleaning your chain
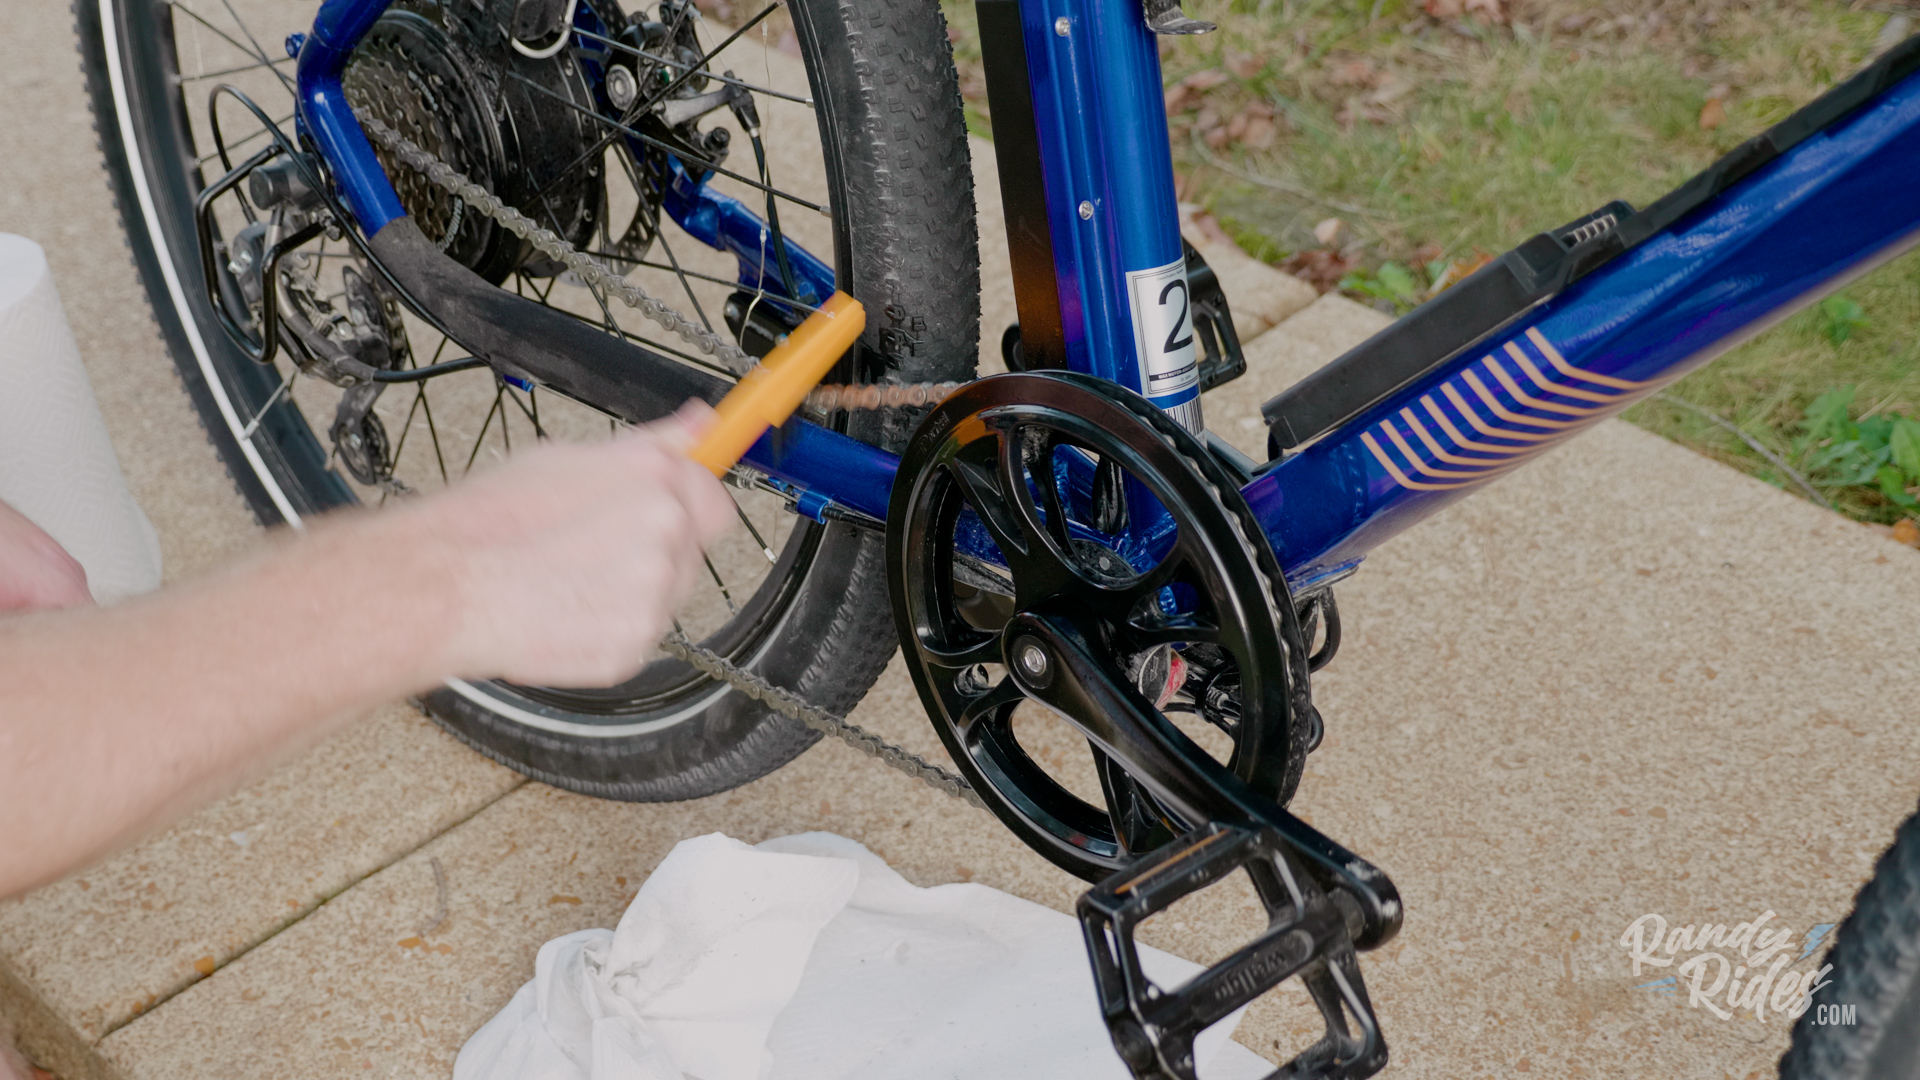
Next, you’ll want to tackle your chain. Depending on mileage, I would handle this in a couple different ways. If you’re early on in your maintenance and have low mileage, or maintain your bike often, you may not see as much grime and dirt as others. Since this is my 500 mile maintenance, my chain is not too dirty. A gentle cleaner with some degreaser and reapplying chain lube, that’s all I’m going to need for this. But if you are further along in your journey of ebiking, then I would suggest a couple things. First, get one of these chain cleaners.
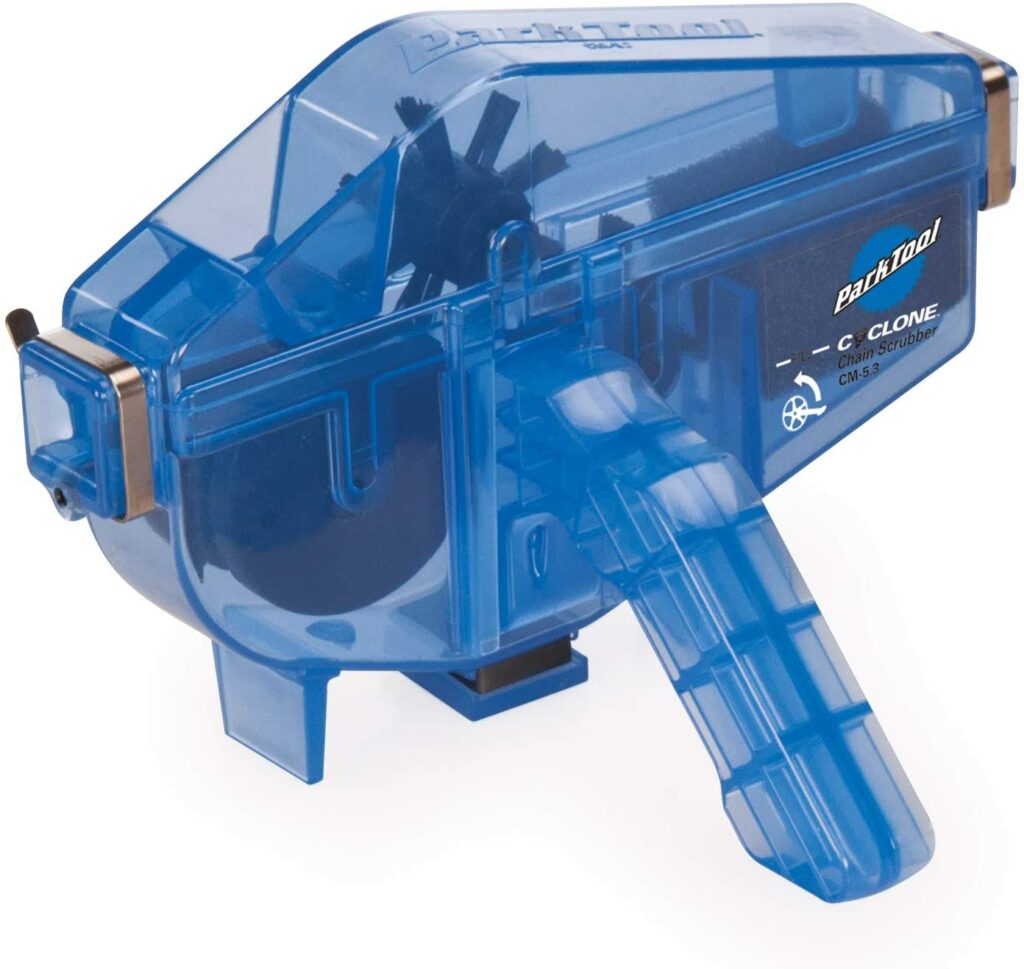
If your chain has a lot of dirt and grime on it, this will help. If your cassette (gear set) has a similar look (dirty and grimy), then I would remove the rear wheel, lay it flat on the ground, and use a hard bristle brush to clean off the debris. Since my bike is fairly new, I didn’t go that far.
Lube your chain
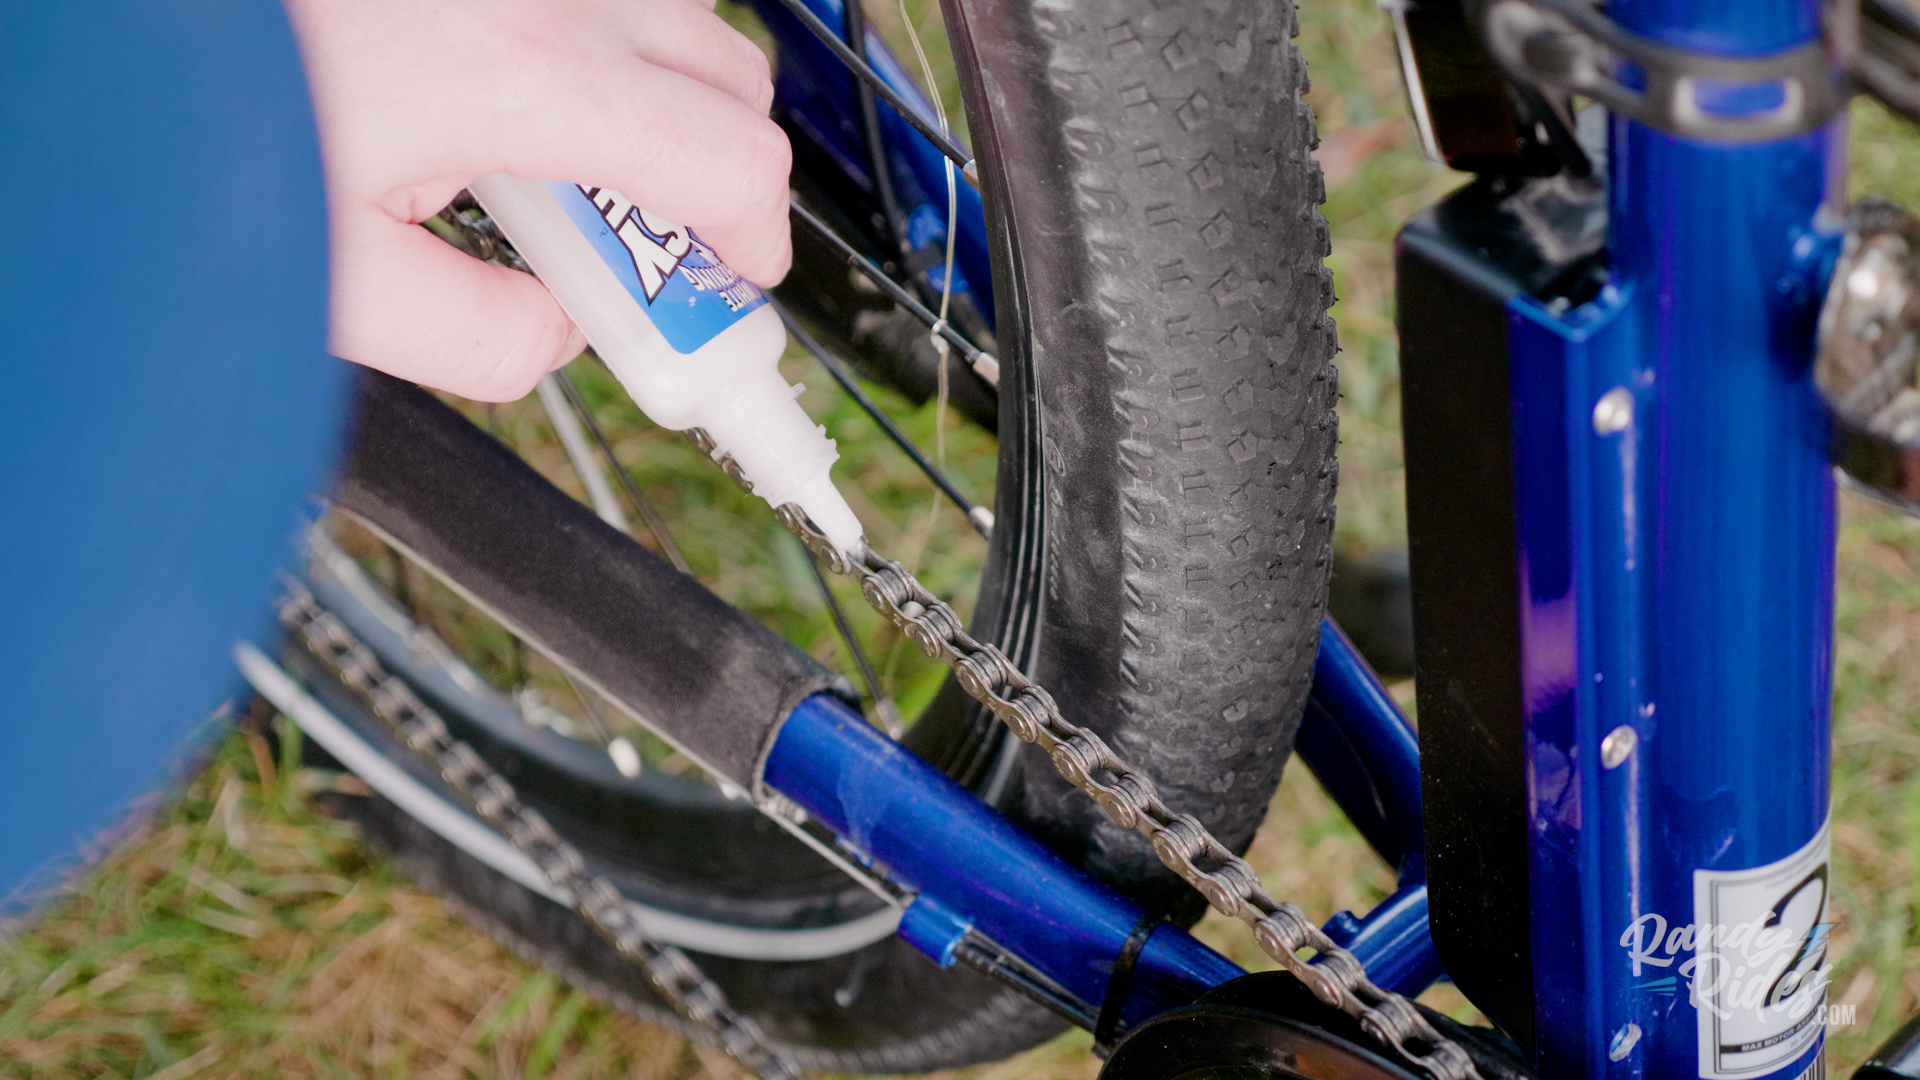
This is something you should do on a regular basis. This ensures that the drive train will remain operation and keep your ability to pedal, a smooth sensation. On your chain, go down each link, applying a small drop of lube on each section. Continue on to do this until you have applied enough lube to the fill the entire chain links.
Tighten your spokes
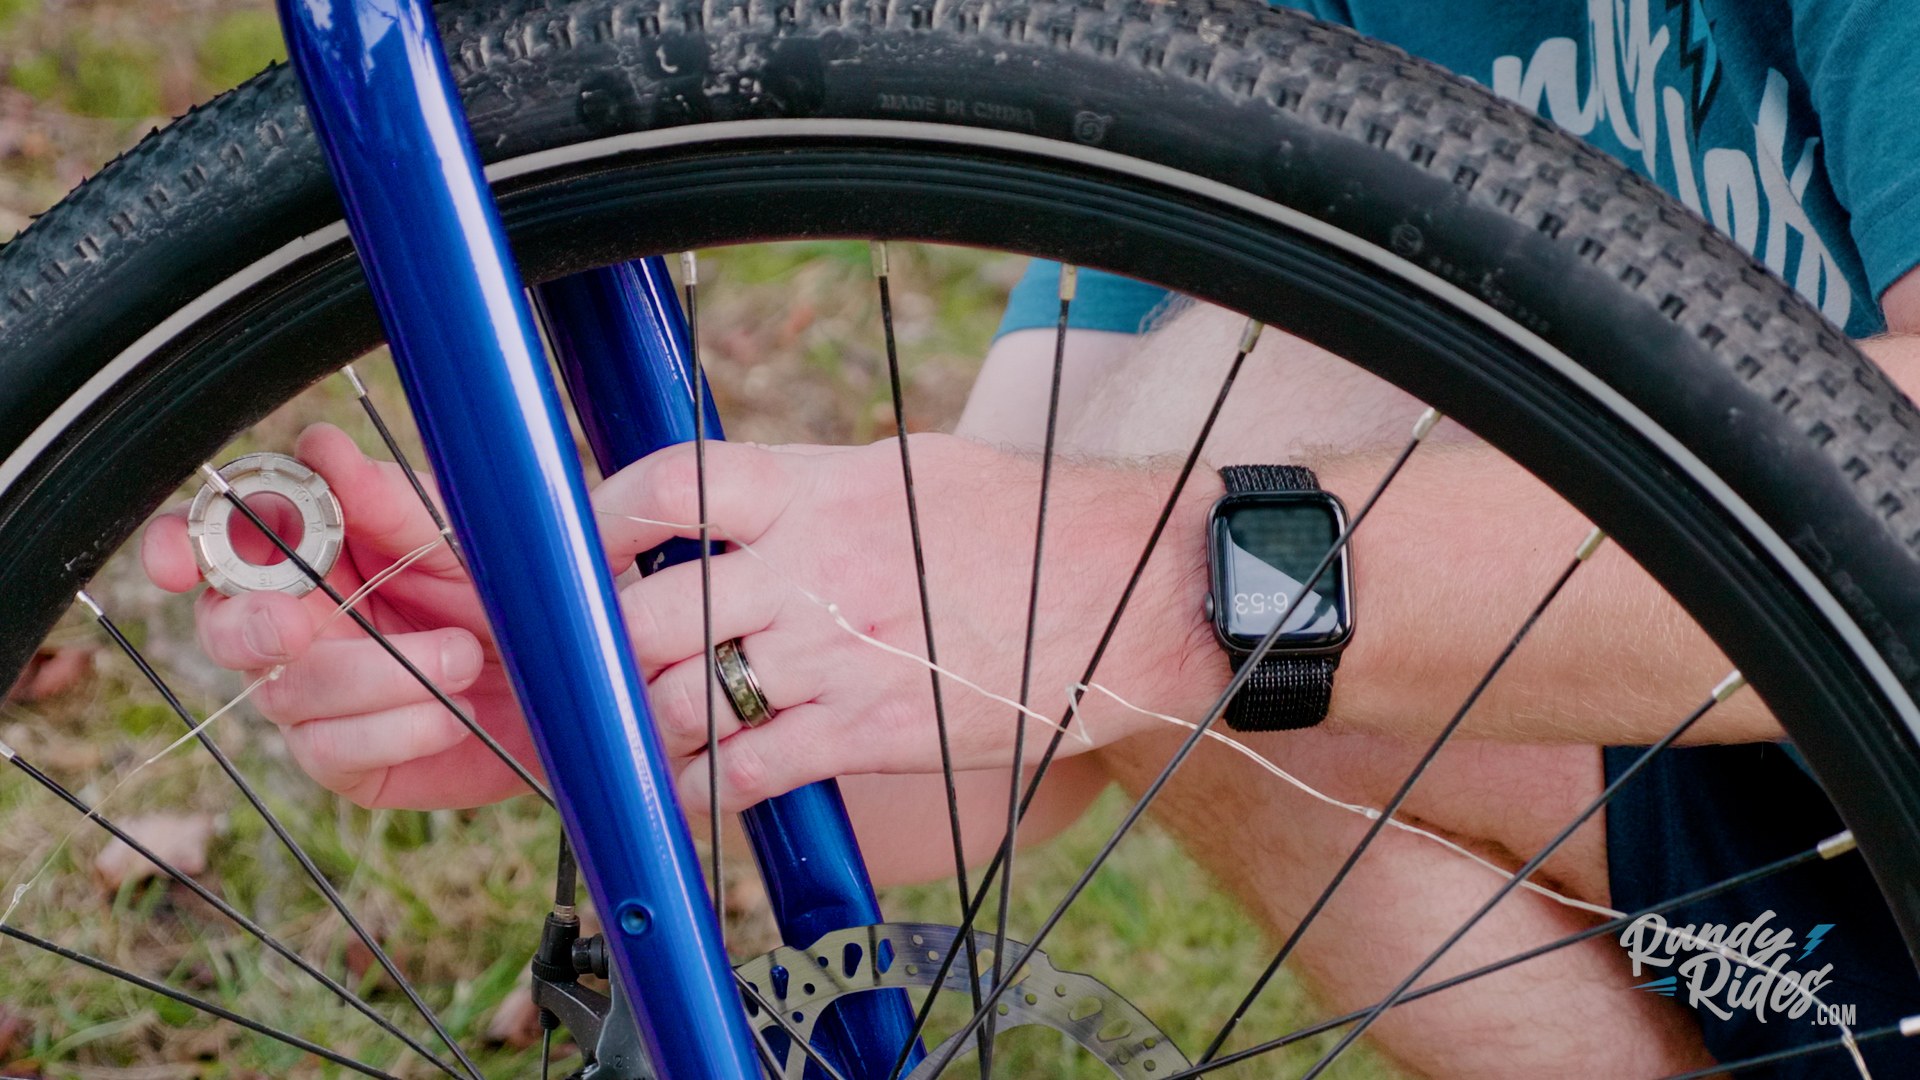
This next step is especially important for electric bikes that have spokes. Due to the torque an electric motor produces, your spokes will start to become loose. Sometimes you can tell when they are loose, as it usually start to make a clicking noise as you pedal down the road/trail. If you hear that, stop immediately and check for any loose spokes. If they are loose, you should be able to twist the nut with your finger and tell. If they unscrew, these need to be tightened. Go through each spoke on each wheel, marking the first spoke with a piece of tape, so you know where you left off.
Adjust and align your brakes
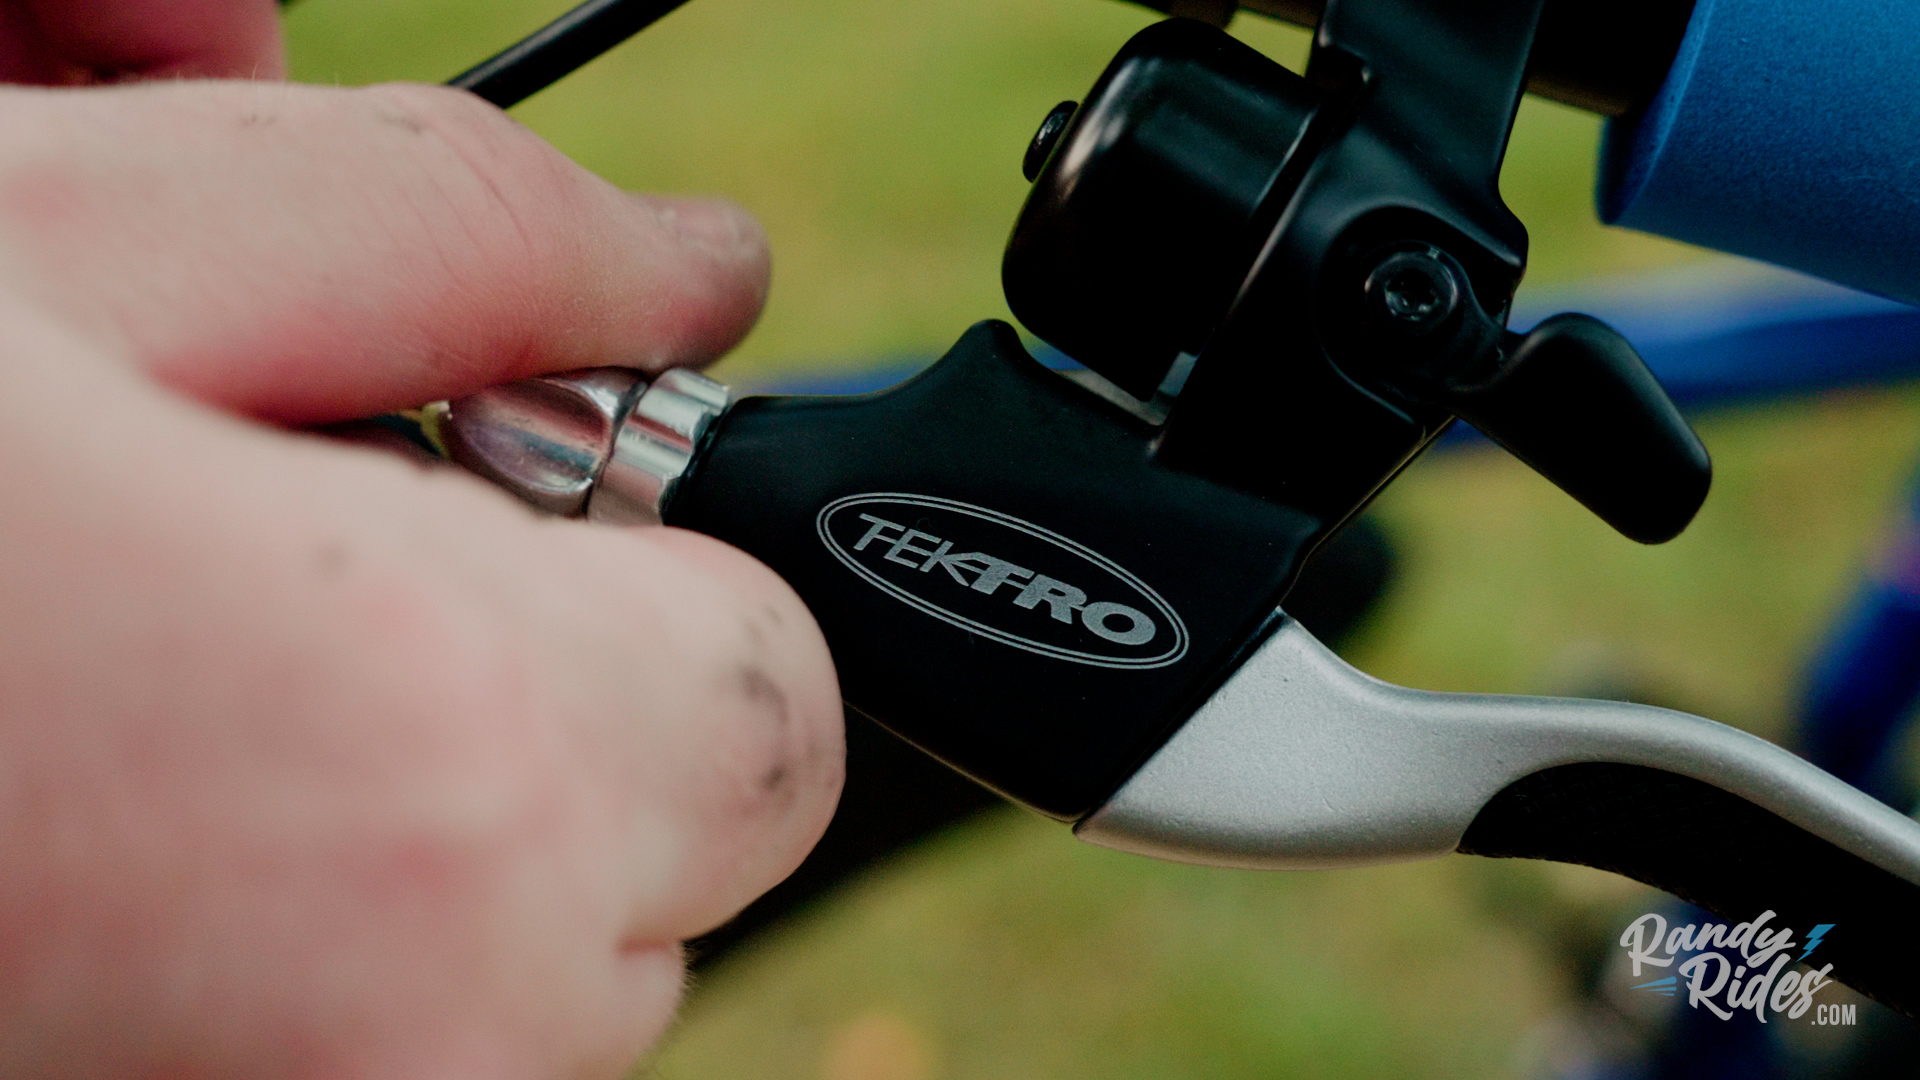
It’s time to adjust your brakes. This is rather simple, as long as you know what you are doing. Always start at the top, by screwing in the nut seen in the video so that it’s all the way screwed in towards the lever. Then head to the caliper, making slight adjustments to the cable clamp bolt. Once you have them set correctly, you should be able to squeeze the lever, so that it’s in between 1-2 inches away from the grip. If your brakes are rubbing on the rotor, you’ll loosen the two screws that hold the caliper, squeeze the brake lever to align the rotors and calipers, then tighten the caliper so that everything lines up. And finally, you’ll want to repeat the same process on the rear brakes. Making sure they’re aligned, making sure the lever is adjusted, and making sure the brake pads are not rubbing.
Check your brake pads for wear
Also, pull your brake pads out of the caliper and inspect them to make sure they are still useable. If they are not, look on Amazon or AliExpress for a similar looking brake pad, and replace them. There are several different shapes, styles, and material, for different brake types. So, do your research. They are inexpensive and last a long time. I would check your pads at every 500 mile maintenance session.
Clean your brakes
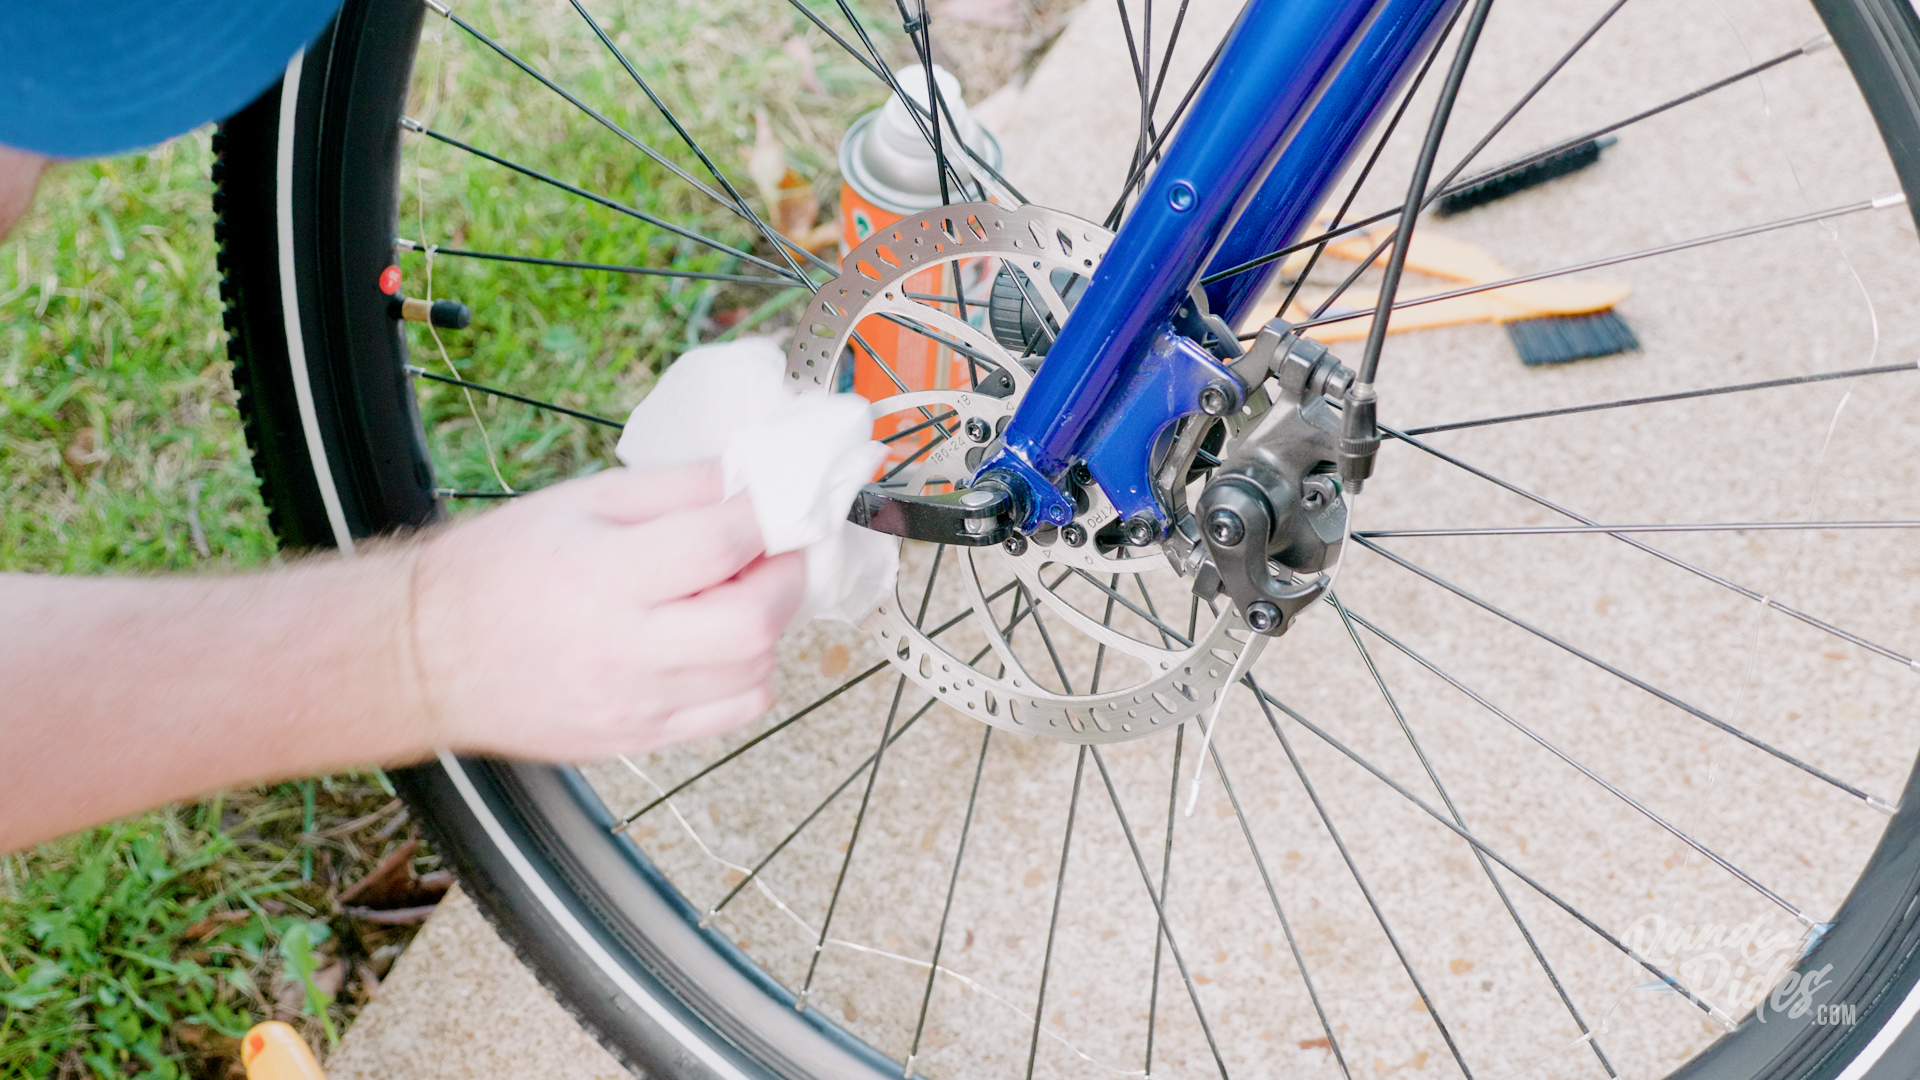
And after all of that is done, you’ll want to go over your brake rotors with some isopropyl alcohol and clean your rotors. This ensures that no dust or oils get on your brake pads and stops any noise or squeaking from happening. Try not to touch the rotors at all, but if you do, rub them with alcohol.
Inspect tires for damage and check tire pressure
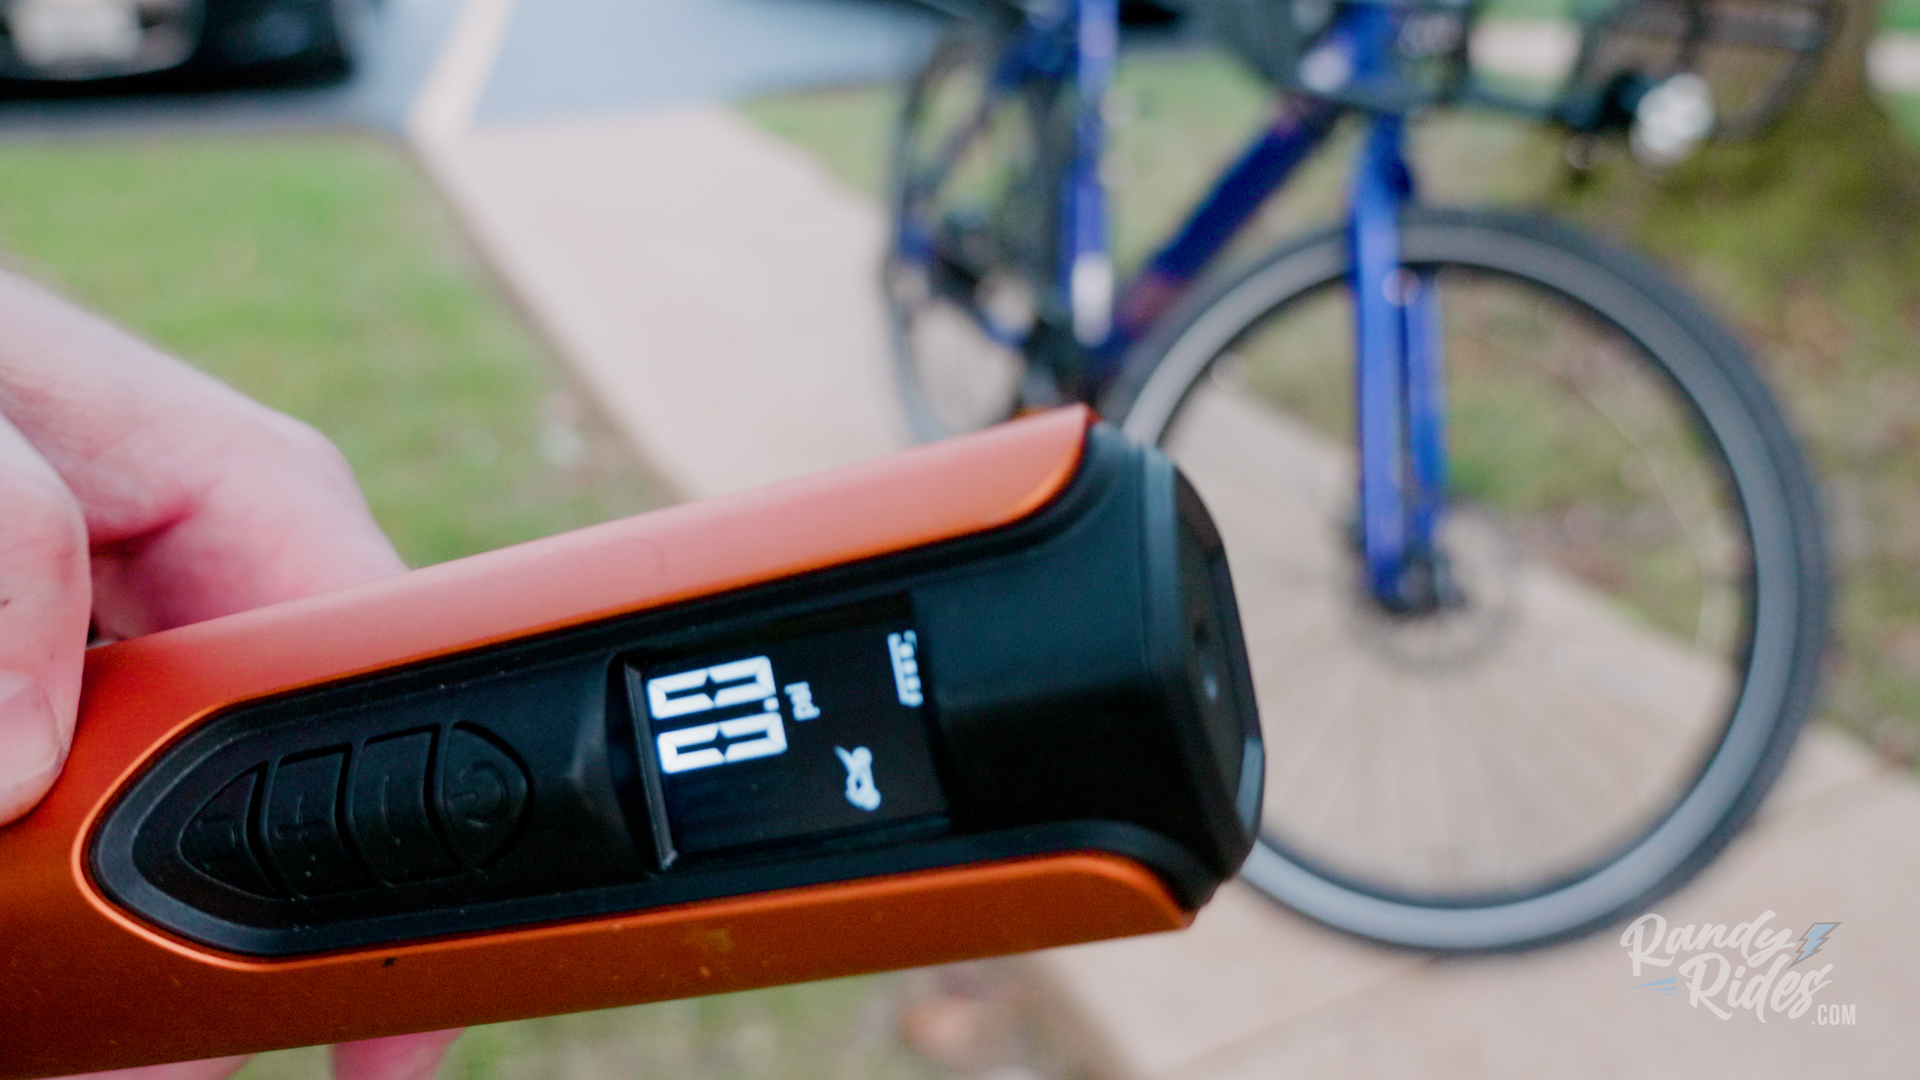
The final thing to do regarding bike maintenance would be to check tires for wear and making sure they have the correct amount of air pressure. I tend to leave mine a little low for better traction, but this also affects your mileage. I have been using this battery powered air pump the last few months, and I highly recommend it.
Also, go over all screws, nuts and bolts. Make sure your pedals are secure. Check the battery to make sure if it not bouncing around when riding. Things like that.
Battery Maintenance
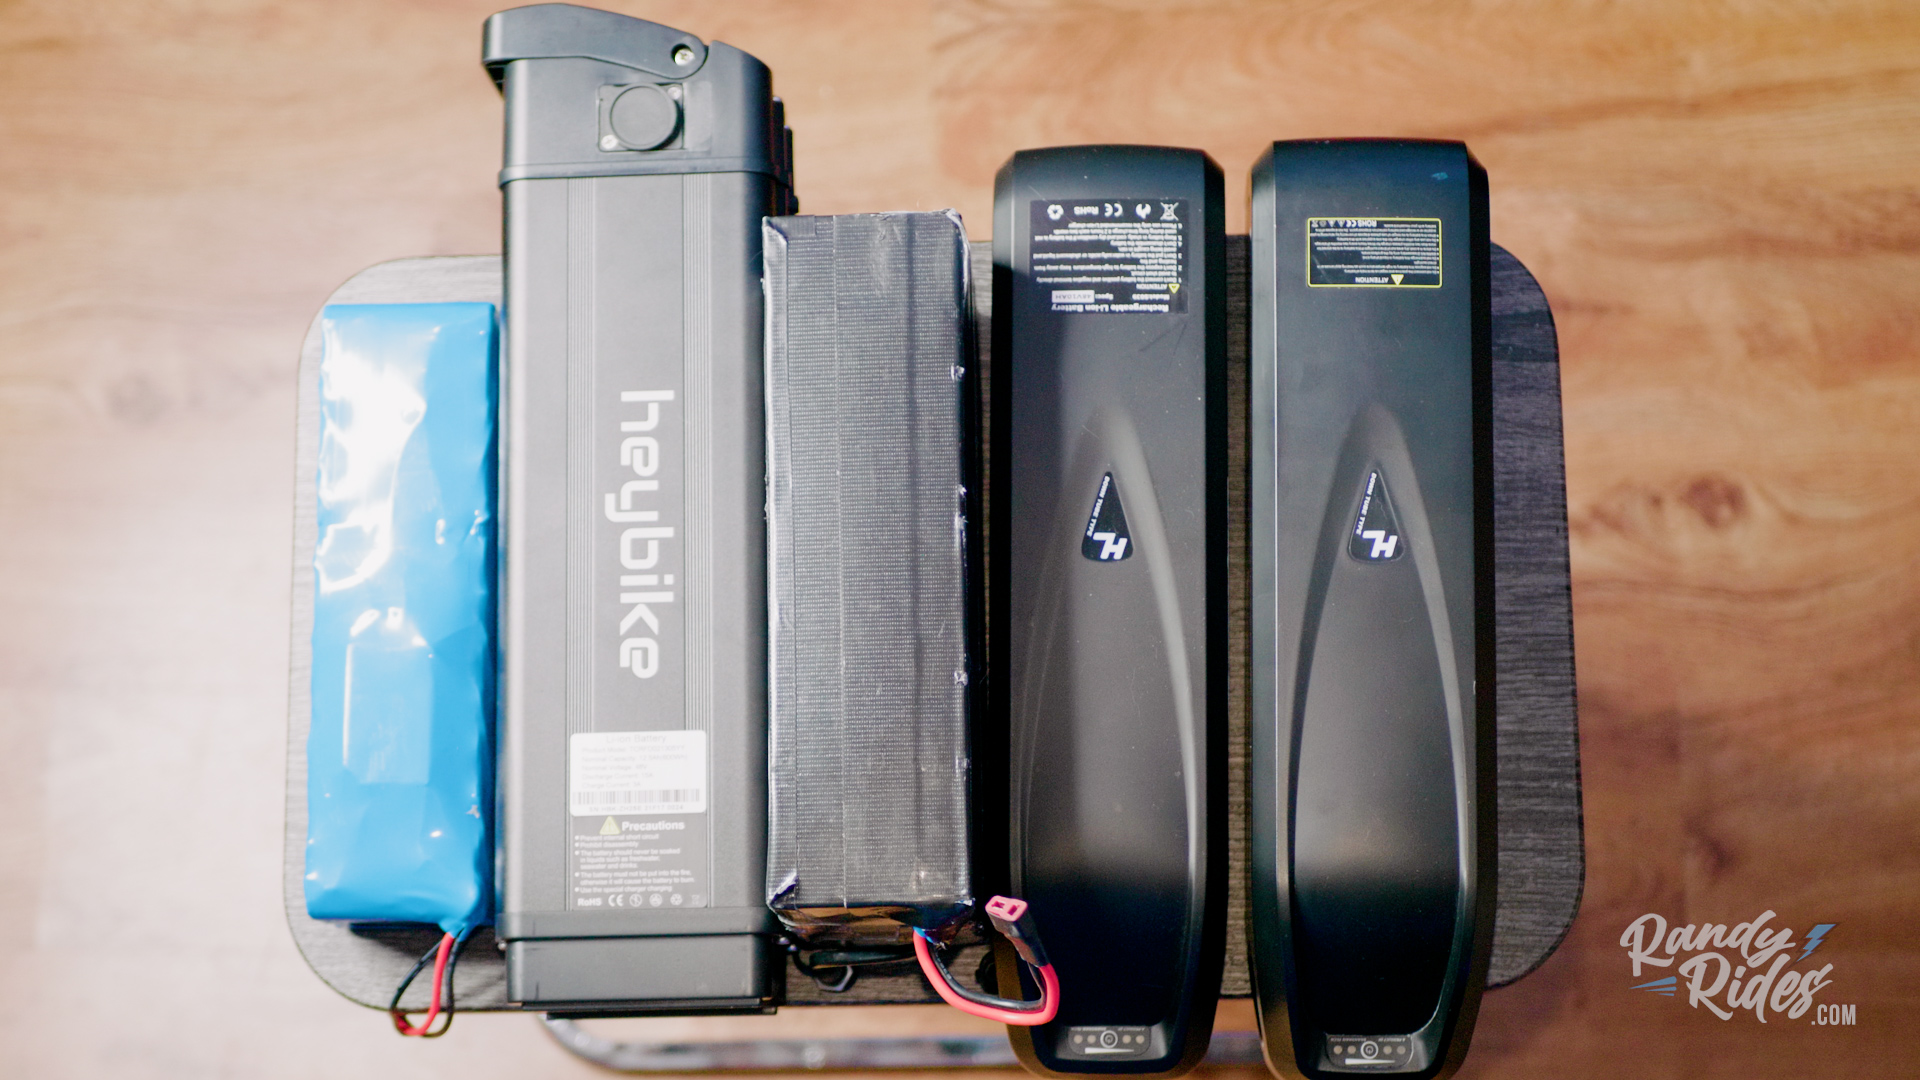
Since we are working with ebikes here, we need to take a moment to talk about battery maintenance. If you are storing your battery for winter, charge it to 100% and leave it in a warm place. DO NOT store your batteries outside in the cold, such as in your garage or shed. Take the battery out, and bring it inside. They say you should store a battery around 80-90%, but I always like to charge mine fully.
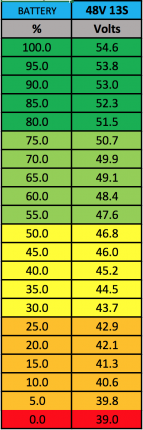
If you have a voltage meter/gauge on your bike, you should see a reading around 54.6V when fully charged. While riding, you will see the voltage regulate. This is called Voltage sag. Depending on the quality of batteries in your bike, will depend on how much voltage sag there is. Some are better than others. If you are wanting to check battery levels while out and about, stop your bike completely and let it sit for a few minutes. This will allow the battery to adjust and give you an accurate reading. You can’t rely on the battery meter, as they are not accurate at all. Unfortunately, not all bikes have a screen. Such as the one I was using to make this video. Stay tuned though, cause that’s all about to change!
Never let your battery deplete below 43V. You can damage the cells by letting it drain all the way and charging it back up. Most batteries have a device that will stop the battery from depleting completely, but those don’t always work and can fail.
Charge your battery before you leave for a trip. If you have spares, make sure those are topped off as well.
If you are riding on a hot day, check your battery consistently, to ensure it is not bulging out anywhere. If this happens. Stop riding and call a friend to pick you up, or walk back to the car. This is extremely dangerous if this happens. Do not charge or use the battery again. Take it to a recycling center and purchase a replacement.
Here’s a good guide on Voltage vs Percentage:
Hi, I noticed that you have your brake levers rotated down somewhat. I wanted to do that with mine (I read that doing so could reduce hand numbness), but can’t figure out how to loosen the throttle on the right side of the handlebar, so consequently, I can’t lower the hand brake lever. Will you be doing a video on this by any chance? thanks.
Which bike are you speaking of?
Mine is the arielrider rideal.
At 1:45 of your video, your blue bike seems to have its brake levers rotated down quite a bit.
All you do is loosen the bolts on your brake levers and rotate them.
If you send me an email, I can send you a picture of what bolt to loosen.